


Setting up a raised garden bed involves more than just building the frame and filling it with soil. The bottom layer plays a crucial role in your garden's success. Many gardeners overlook this foundation, only to face problems with weeds, pests, and drainage later. Getting the bottom right from the start saves time, money, and frustration down the road.
The Bottom Layer Creates Your Garden's Foundation
The foundation of your raised garden bed determines how well your plants will thrive and what challenges you'll face throughout the growing season.
Weed Control from Below

Think of the bottom layer as the barrier between your controlled growing space and the unpredictable ground below. Without proper preparation, aggressive weeds can push through from underneath. Their roots compete with your vegetables for nutrients and water. Grass is particularly persistent and will find its way into your bed if given the chance.
Drainage and Moisture Balance

A raised garden bed for drainage works best when water can escape through the bottom without flooding your plants. Standing water leads to root rot and fungal diseases. At the same time, you want to retain enough moisture so your soil doesn't dry out too quickly. Water needs somewhere to go after heavy rain or watering.
Soil Temperature and Beneficial Organisms

The bottom layer also influences soil temperature and the movement of beneficial organisms. Earthworms and other helpful creatures should be able to move between your bed and the native soil. This natural activity improves soil structure and nutrient cycling throughout the growing season.
Cardboard in Bottom of Raised Garden Bed Works Best for Weeds
Cardboard offers one of the most effective and affordable solutions for preventing weeds from invading your growing space.
How to Prepare and Install Cardboard

Plain corrugated cardboard creates an effective weed barrier that eventually breaks down and enriches your soil. Remove all tape, staples, and glossy labels before laying it down. These materials don't decompose and can contaminate your growing space.
Overlap the cardboard pieces by at least six inches. Weeds are opportunistic and will exploit any gaps. Water the cardboard thoroughly before adding soil on top. This helps it conform to the ground and speeds up decomposition. Wet cardboard also stays in place better during the filling process.
Benefits as It Breaks Down

The cardboard layer typically lasts one growing season before breaking down completely. By that time, your plants have established strong root systems. The decomposing cardboard adds organic matter to your soil and feeds beneficial microorganisms. It's a solution that costs nearly nothing and actually improves your bed over time.
Newspaper works similarly if you have a large supply. Use sheets that are at least ten layers thick for adequate weed suppression. Avoid glossy inserts or colored pages, which may contain unwanted inks.
Hardware Cloth Stops Burrowing Pests Like Voles
Burrowing pests pose a serious threat to raised beds, and physical barriers provide the most reliable protection.
Choosing the Right Mesh Size

Voles, gophers, moles, and ground squirrels tunnel from below and feast on roots, bulbs, and entire plants. Hardware cloth with half-inch mesh works best for most burrowing animals. This galvanized wire mesh is tough enough to withstand years of soil contact without rusting through.
Some gardeners worry that hardware cloth prevents drainage or blocks beneficial organisms. In reality, the mesh openings allow excellent water flow. Earthworms can still move through, though larger creatures cannot.
Installation Steps for Maximum Protection
Install the hardware cloth before filling your bed with soil. Cut it to fit the entire bottom surface, extending it slightly up the sides if possible. Secure the edges with staples or screws to prevent pests from finding entry points. Any gaps larger than half an inch give rodents an opportunity.
For areas with severe pest pressure, consider extending the hardware cloth up the inside walls of your bed by six inches. How to keep voles out of raised garden beds requires this extra protection in regions where rodent damage is common. Secure it firmly to the frame. This creates a protective barrier around the bottom and lower sides of your growing space.
Chicken wire is cheaper but less effective. Determined rodents can chew through it over time. Save your money in the short term only to replace everything later, or invest in proper hardware cloth from the beginning.
How to Fill a Deep Raised Garden Bed from the Bottom Up

Deep beds offer excellent growing conditions but require strategic filling methods to avoid excessive costs.
The Layering Method with Organic Materials
The hugelkultur method offers a solution when you're working with limited resources. Start by placing logs, branches, and woody debris at the bottom. These materials break down slowly over several years, releasing nutrients gradually. They also act like sponges, absorbing water during wet periods and releasing it during dry spells.
Use larger logs at the very bottom and progressively smaller branches as you build up. Leave space between pieces so soil can fill the gaps. This creates air pockets that improve drainage and root penetration.
Middle Layers for Transition
Add a layer of leaves, grass clippings, or straw over the woody material. This finer organic matter breaks down faster and provides more immediate benefits. It also prevents your soil from sinking too far into the gaps between logs.
Compost or aged manure comes next. This nutrient-rich layer feeds your plants during their first season. It also helps transition between the rough organic matter below and the finished soil on top.
Top Layer Requirements
Top everything off with quality garden soil or a mixture of topsoil and compost. The top eight to twelve inches should be your best material since this is where most vegetables root. Shallow-rooted crops like lettuce and radishes never even reach the organic layers below.
This layering approach significantly reduces the amount of purchased soil you need. A three-foot-deep bed might only need ten inches of actual soil on top. The rest is filled with free or cheap organic materials that improve your bed over time.
Materials You Should Never Put on the Bottom
Certain materials create more problems than they solve despite their popularity or apparent logic.
Landscape Fabric Problems

Landscape fabric is often recommended but performs poorly in raised beds. It prevents weeds initially, but organic matter builds up on top over time. Within a year or two, weed seeds germinate in this layer above the fabric. The fabric then blocks their roots from penetrating deeper, but it doesn't stop them from growing.
Landscape fabric also degrades in sunlight. Edges that extend above soil level turn brittle and fragment. These plastic pieces contaminate your garden and persist in the environment for decades.
Impermeable Barriers
Plastic sheeting or tarps seem like logical choices for weed barriers, but they prevent drainage entirely. Water pools on top, creating boggy conditions that suffocate plant roots. Skip any impermeable material at the bottom of your bed.
Treated Wood and Rocks
Treated lumber scraps might seem useful for filling deep beds, but the chemicals used to preserve wood can leach into your soil. Pressure-treated wood contains copper, chromium, and arsenic compounds that you don't want near food crops. Use only untreated wood or natural logs for any organic matter layers.
Gravel and rocks are sometimes suggested for drainage, but they actually create problems. The interface between rocks and soil causes water to hang up rather than drain freely. This perched water table keeps the bottom of your root zone soggy. Rocks also take up valuable space without providing any nutritional benefits as they don't decompose.
Your Bed Material Changes What Goes on the Bottom
The type of frame you've built influences which bottom treatments work best for your situation.
Wooden Beds on Ground Contact
Wooden beds placed directly on grass or soil benefit most from cardboard weed barriers. The wood itself has some contact with the ground, which helps stabilize the structure. Cardboard prevents weeds without creating moisture problems that might rot the wood faster.
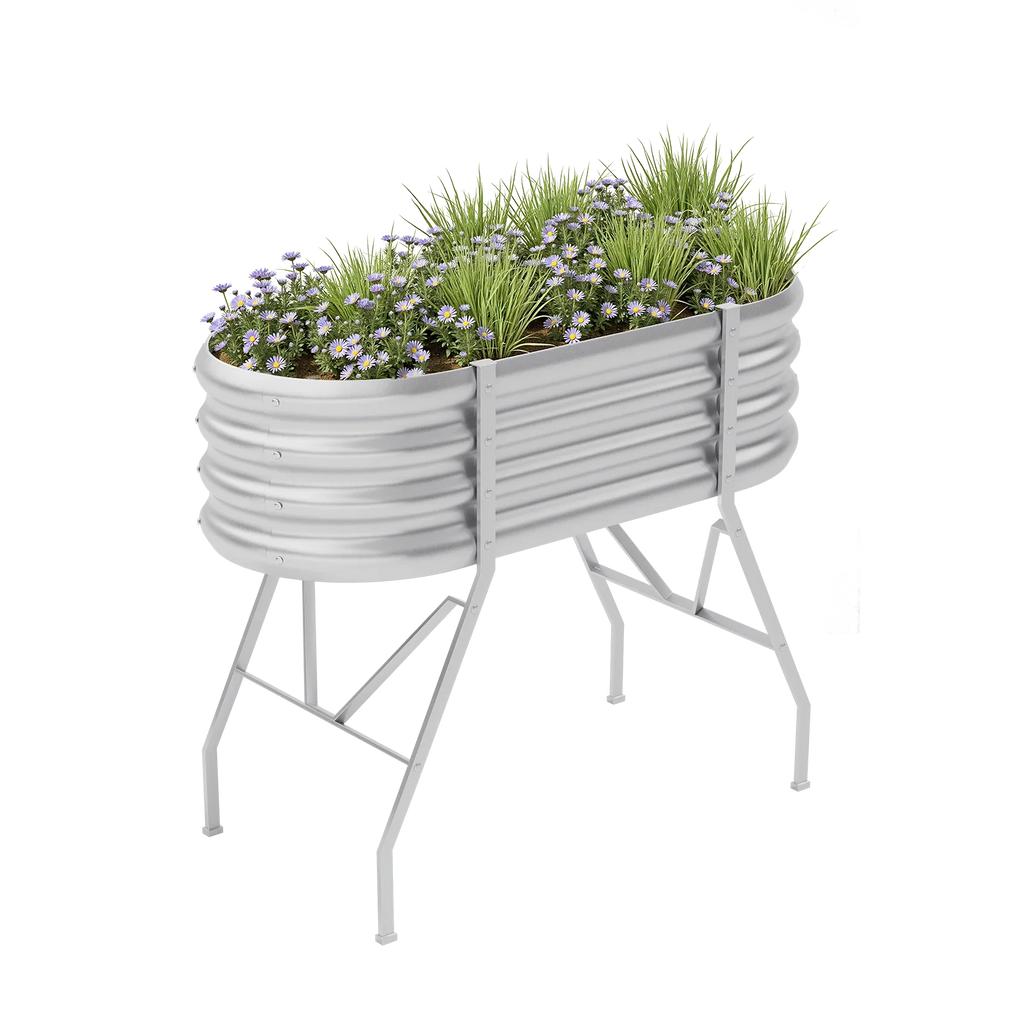
Metal and Elevated Designs
Metal raised beds often sit slightly above ground level on small feet or a frame lip. This gap provides natural drainage and reduces direct ground contact. You might skip the weed barrier entirely if your bed has significant clearance. However, cardboard still helps if you're placing the bed over a lawn or weedy area.
Solid Bottom Considerations
Plastic or composite beds vary widely in design. Check whether the bottom is solid or open. Solid bottoms need drainage holes drilled through them. Open bottoms work like traditional wooden frames and benefit from cardboard or hardware cloth depending on your primary concern.
Very tall beds have less interaction with the ground below. When your bed is three or four feet deep, weeds struggle to reach the surface even without a barrier. Focus your efforts on proper filling techniques and pest exclusion instead.
Location-Specific Needs
Beds placed on concrete or pavement need drainage holes drilled in the bottom if the structure is solid. Otherwise, water has nowhere to escape. Beds on bare soil or grass have natural drainage through the earth below.
Ready to Build Your Best Garden Yet?
The bottom of your raised garden bed sets the stage for everything that grows above it. Take time to prepare this foundation correctly and you'll enjoy years of productive gardening with fewer weeds, better drainage, and protection from underground pests.
Start with a layer of cardboard for weed suppression, add hardware cloth if burrowing animals are a concern, and fill deep beds strategically with organic matter. Skip the landscape fabric and impermeable plastics. These simple steps create the ideal environment for healthy, thriving plants.
Frequently Asked Questions
Q1: Should I Put Anything on the Bottom of a Raised Garden Bed?
Yes, most raised beds benefit from a bottom layer. Cardboard provides excellent weed suppression and eventually enriches your soil as it decomposes. Hardware cloth protects against burrowing pests like voles and gophers. The specific materials you choose depend on your primary concerns, whether that's weeds, pests, or drainage.
Q2: Can I Use Landscape Fabric at the Bottom of My Raised Bed?
Landscape fabric is not recommended for raised garden beds. It blocks beneficial organisms from moving between your bed and the native soil. Weeds eventually grow in the organic matter that accumulates on top of the fabric. Cardboard works better, costs less, and breaks down to improve your soil over time.
Q3: How Do I Improve Drainage in a Raised Garden Bed?
Proper drainage happens naturally when you avoid solid barriers at the bottom. Skip rocks and gravel, which actually impede drainage by creating a perched water table. Use quality, well-draining soil mixed with compost. If your bed sits on concrete, drill drainage holes in the bottom to prevent water from pooling.
Q4: What Is the Cheapest Way to Fill a Deep Raised Garden Bed?
Layer organic materials from bottom to top. Start with logs and branches at the bottom, add leaves or grass clippings, then compost or aged manure. Top with eight to twelve inches of quality garden soil. This method drastically reduces the amount of purchased soil needed while improving your bed's fertility and water retention.
Q5: Will Cardboard at the Bottom Prevent Drainage?
Cardboard does not prevent drainage. It becomes saturated quickly and allows water to pass through. As cardboard decomposes over the growing season, it actually improves soil structure by adding organic matter. Overlap pieces generously to prevent weeds, but don't worry about water getting trapped above it.


