


A well-placed flower bed transforms your front yard into a welcoming display that guests and passersby will notice throughout the year. Building a raised garden bed in fall or early winter gives you a head start on spring blooms while adding structure to your landscape now.
Overview: Your Six-Step Installation Process
Building a front yard flower bed takes less effort than you might expect. Early winter offer an ideal window for this project since you can work in cooler weather and have the structure ready for early spring color.
Here is how the process unfolds:
- Plan your layout by observing sunlight patterns and measuring your available space near the front entrance.
- Select the right size from options like a compact 3x6 raised garden bed or a larger 4x8 metal raised garden bed that fits your yard scale.
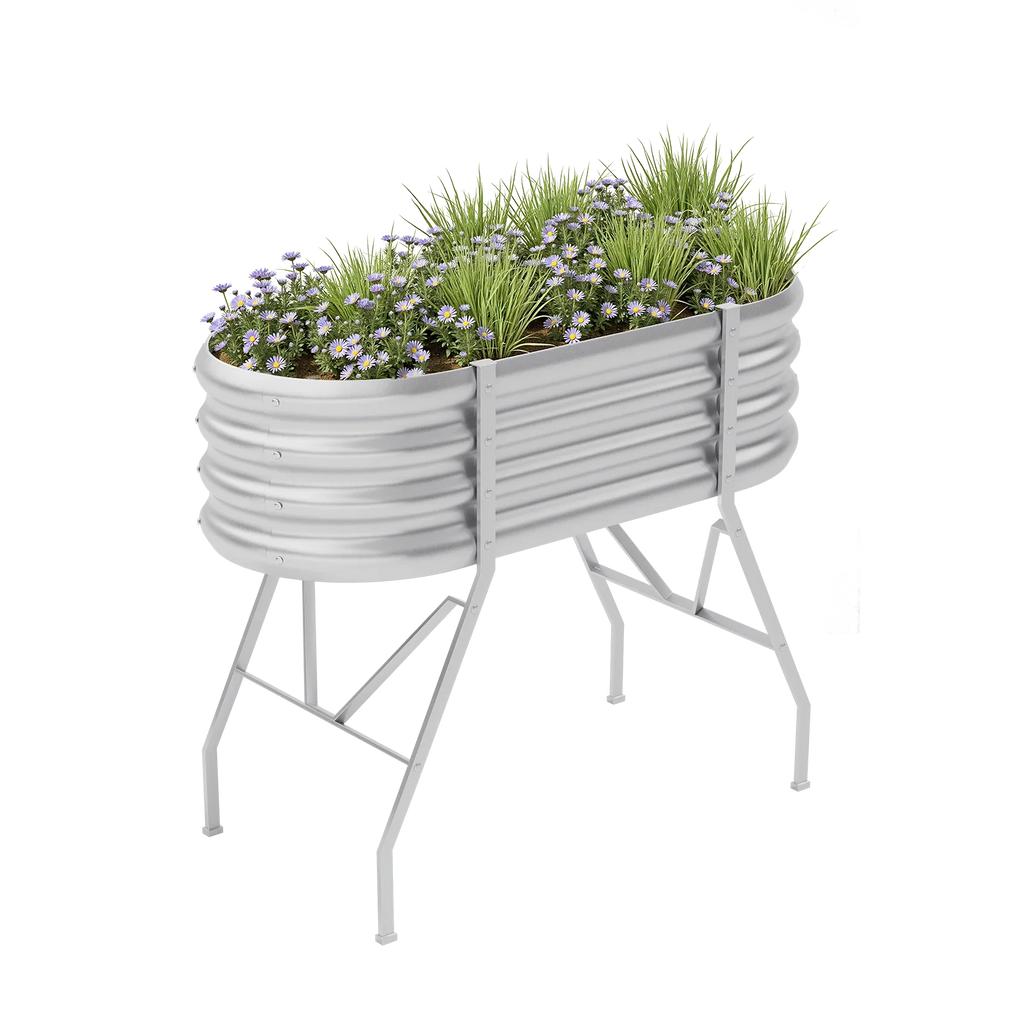
- Choose durable materials with galvanized metal beds offering the longest lifespan and minimal maintenance.
- Prepare and install by marking your area, clearing the ground, leveling the surface, and assembling the bed frame.
- Fill and plant using quality soil, cardboard base layers, and winter flowers in attractive color combinations for immediate visual appeal.
- Add finishing touches, including edging, mulch, and a simple watering routine to keep your bed looking polished.
You do not need specialized skills, just basic tools and a few hours of work time. Each step builds on the previous one. Many homeowners complete this project during a weekend, making it a practical way to use time off or create a meaningful gift for gardening enthusiasts.
Step 1: Plan Your Front Yard Flower Bed Layout
Before you purchase any materials or start digging, you need to identify the ideal location for your flower beds. The right spot makes the difference between a thriving garden and one that struggles.
Check Sunlight and Shade Patterns

Walk around your front yard at different times of day. Note where the shade falls in the morning versus the afternoon. This helps you choose the right spot for a flower bed that will support healthy plant growth.
Consider Traffic Flow and Access

The bed should enhance the path to your front door without blocking it. During times when you might add outdoor decorations or receive more visitors, a thoughtfully placed garden bed frames your entrance rather than competing with it.
Measure Your Available Space
Measure the distance from your house foundation to the sidewalk or driveway. Leave enough room for maintenance access. You will need to reach both sides of the bed for watering, weeding, and seasonal planting.
Step 2: Choose the Right Raised Garden Bed Size and Shape
Once you know where the bed will go, you can select dimensions that fit the space without overwhelming it. Size affects both aesthetics and practicality.
Match Bed Size to Your Yard

The dimensions of your raised garden beds should match your front yard scale. A 4x8 metal raised garden bed suits properties with generous front yards and long foundation walls. This size provides substantial planting space for layered flower arrangements.
Smaller properties benefit from a 3x6 raised garden bed that does not overwhelm the space. This compact option still offers plenty of room for varied plantings while maintaining proportion with a modest home exterior.
Consider Shape and Practical Uses
Rectangular beds typically look more polished against house foundations than curved designs. They create clean sight lines that complement architectural features. If you are considering this as a gift for a gardening enthusiast, practical sizing matters more than trying to maximize every inch.
Bed Size Guidelines:
| Front Yard Width | Recommended Bed Size | Best Plant Capacity |
| Under 15 feet | 3x6 feet | 8-12 plants |
| 15-25 feet | 4x6 or 3x8 feet | 12-16 plants |
| Over 25 feet | 4x8 feet or multiple beds | 16-24 plants |
Step 3: Pick Durable Materials for Long-Term Use
After settling on size, the material choice determines how long your garden bed will last and how much maintenance it requires. This decision impacts both your budget and future workload.
Why Metal Outperforms Other Options

Metal raised garden beds outlast wood alternatives by years. Galvanized steel resists rust and weathering without chemical treatments. You will not need to replace rotted boards or worry about splinters near your front entrance.
Wood can warp, requiring realignment and eventual replacement. Plastic options often look less substantial and may crack in temperature extremes.
Material Thickness Matters

Look for metal that is substantial enough to hold soil weight without bowing. Thinner materials might seem economical initially, but can buckle after a season or two of freeze-thaw cycles.
A Practical Gift That Lasts

A metal garden bed works as a practical gift. The recipient gets years of use without the maintenance burden that comes with wood preservation or plastic replacement.
Step 4: Prepare the Ground and Install Your Garden Bed
With your materials selected, you are ready to move from planning to physical construction. Proper ground preparation ensures your raised bed sits level and stable for years.
Mark Your Area

Mark your chosen area with spray paint or stakes and string. If you are assembling a pre-made metal kit, the corners are already squared during manufacturing. Focus on ensuring the base is level rather than squaring the corners manually.
For custom builds, check that corners form right angles using the 3-4-5 triangle method:
- Measure three feet along one side.
- Measure four feet along the perpendicular side.
- Verify that the diagonal measures five feet.
Clear the Ground

To prepare the site, you can either strip the sod with a flat shovel for immediate planting or use the no-dig method by laying down thick layers of cardboard to smother grass and weeds naturally. The cardboard approach is more environmentally friendly and eventually decomposes into organic matter that enriches your soil.
Level the Surface

Level the ground by removing high spots rather than filling low areas when possible. A level base prevents the bed from tilting and ensures even water distribution. Use a long board and a level tool to check your work.
Assemble the Bed During Your Break

Assemble the raised bed according to the manufacturer's instructions. Most metal beds use corner stakes or interlocking panels.
Winter installation, perhaps during a break from work, lets you complete this step without summer heat.
Position and Final Check
Position the assembled bed and check the level again before proceeding. Make minor adjustments now rather than after filling with soil.
Step 5: Fill and Layer Your Front House Flower Bed
Now that your garden bed structure is in place, filling and planting it correctly sets the foundation for healthy growth. The layering approach creates visual interest while supporting different plant types.
Bottom Layer Protection

If installing directly on a lawn, lay down cardboard as your base layer. This suppresses grass growth while allowing drainage. The cardboard gradually breaks down into organic matter that benefits your soil. For areas with gophers or aggressive weeds like Bermuda grass, add hardware cloth beneath the cardboard for extra protection.
Choose Quality Soil

Fill the bed with a soil blend suited to flowers. A mix containing compost, topsoil, and drainage material like perlite supports root development. Raised beds need quality soil since plants can't send roots beyond the bed boundaries to seek nutrients.
Plan Your Plant Arrangement by Height
Plan your planting arrangement on paper before buying plants:
- Back row (near house): Taller specimens
- Middle section: Mid-height flowers
- Front edge: Low, spreading plants that cascade slightly
Winter Planting with Attractive Colors

Winter planting gives you the opportunity to immediately incorporate colorful elements for visual display. Think red cyclamen for bursts of color, white hellebores, or purple and white ornamental kale. Add in some evergreen branches for texture and seasonal color.
If constructing the bed now for spring garden planting, the soil will settle by the time warm temperatures arrive.
Space Plants Properly
Space the plants properly. Overcrowding results in competition and disease. New gardeners plant too closely and make thinning decisions.
Step 6: Add Finishing Touches for Easy Maintenance
The final details transform a functional garden bed into a polished landscape feature. These finishing steps also reduce your ongoing maintenance time throughout the seasons.
Install Edging

Edge the perimeter where the raised bed meets the lawn. Metal edging or stone creates a defined boundary that stops grass from creeping into the bed. This border also guides your mower and prevents accidental damage to the bed structure.
Apply Mulch for Winter Protection

Apply two to three inches of mulch around plants once they're established. Mulch conserves moisture, suppresses weeds, and gives the bed a finished appearance. Wood chips, shredded bark, or pine straw all work well.
Set Up Watering
Set up a simple watering routine. Raised flower beds may dry out faster than in-ground plantings, especially in summer.
Check soil moisture regularly by sticking your finger two inches down. Water deeply when the top inch feels dry.
Keep Up with Seasonal Care
Quick maintenance tasks keep the bed attractive year-round:
- Deadhead spent blooms
- Remove damaged foliage
- Refresh mulch as it breaks down.
These simple steps maintain the polished look that makes your front entrance shine.
Start Your Project This Season
Building a flower bed in fall or early winter positions you for spring success while improving your home's appearance now. The right raised garden bed provides years of growing space with minimal upkeep.
You can tackle this as a personal project or wrap up a garden bed as a thoughtful gift. The combination of durability and beauty makes it worthwhile. Take measurements this week, choose your materials, and you'll have the structure in place before cold weather settles in for good.
Frequently Asked Questions
Q1: How Deep Should a Raised Flower Bed Be for Most Plants?
Most flowering shrubs and plants prefer planting beds that are 10 to12 inches deep. The depth will hold the root systems of either annual and perennial and small shrub plantings. Beds that are deeper than the mentioned depth have more planting area, but are not necessary unless you plant large-root plant species.
Q2: Can I Build a Raised Garden Bed Directly Against My House Foundation?
Yes. Just remember to leave a six-inch space between your bed and your foundation. Although it seems insignificant, this space will help in circulating air, prevent moisture buildup against your house, and also allow you to do maintenance work.
Q3: What's the Best Time of Year to Install a Raised Flower Bed?
Fall through early winter is a good time to install the structure since you can prepare it before the spring planting season. During this time, the soil will have settled over the winter. Winters are a good time to construct since you get to make use of time off from work.
Q4: How Much Soil Do I Need to Fill a 4x8 Raised Garden Bed?
A 4x8 bed that's 12 inches deep requires approximately 32 cubic feet of soil. Since one cubic yard equals 27 cubic feet, you'll need about 1.2 cubic yards to fill it to the brim. Most garden centers sell soil by the cubic yard, so ordering 1.5 yards gives you a comfortable margin.
Q5: Do Metal Raised Beds Get Too Hot and Damage Plant Roots?
Metal beds can warm up in direct sun, but the soil inside the garden bed insulates the roots. For hot regions, the garden bed can be placed in such a way that it is shaded by the afternoon sun. Alternatively, one can paint the garden bed with light colors.


