


An appropriately maintained flower bed is a great way to ensure instant curb appeal, which helps to turn outdoor areas into inviting places to be. The trick is not to have to constantly devote time to it, but rather to plan effectively.
1. Use Raised Beds to Keep Flower Beds Neat and Defined
Visual Impact

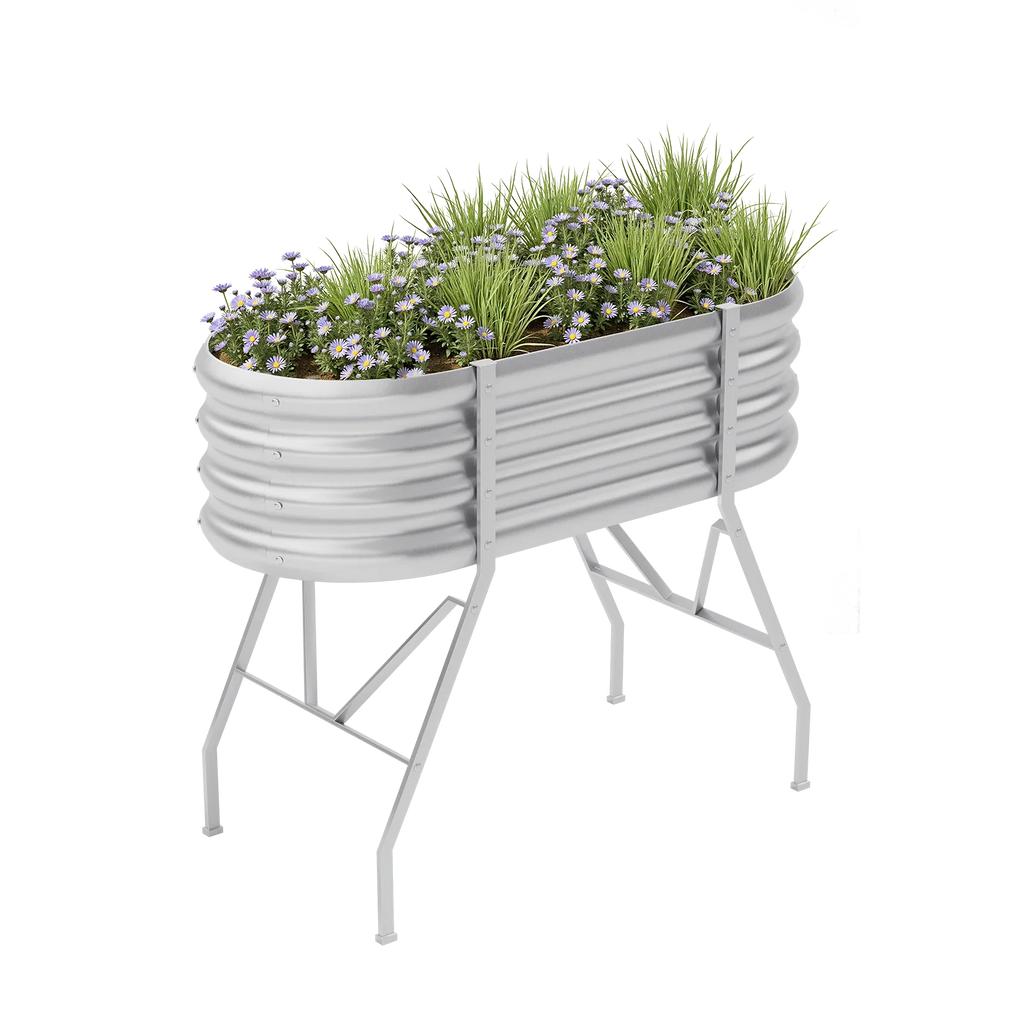
Metal garden beds raised above ground level create crisp, clean lines that frame plantings beautifully. The defined perimeter acts as a natural barrier against lawn encroachment.
The structured appearance elevates the whole garden design. Even simple plantings look more sophisticated when contained within raised edges.
Practical Benefits

Better drainage comes standard with raised beds. Water doesn't pool on the surface, so plants dry out faster after rain.
Soil stays where it belongs. Unlike in-ground beds where soil gradually washes into paths, raised beds contain their contents. This means tidier surroundings and less frequent maintenance.
Weeding takes less time because fewer weed seeds blow into elevated beds. The clear boundary makes it obvious where cultivated space ends.
2. Choose the Right Depth and Height for Healthy Flowers
12-Inch Beds for Most Flowers

A 12 inch deep raised garden bed works well for annuals, shallow-rooted perennials, and most flowering plants. This depth supports healthy root systems without requiring excessive soil volume.
18-Inch Beds for Larger Varieties

An 18 inch raised garden bed accommodates larger perennials and ornamental grasses. The extra depth means soil stays more consistently moist, which reduces watering frequency.
36-Inch Beds for Maximum Versatility

The 3 ft tall raised garden beds offer maximum accessibility. Gardeners with mobility concerns can work comfortably from a standing position.
Quick Reference Guide
| Bed Depth | Best For | Key Benefits |
| 12 inches | Annuals, compact perennials, bulbs | Cost-effective, sufficient for most flowers |
| 18 inches | Large perennials, ornamental grasses | Better moisture retention, deeper roots |
| 36 inches | Mixed plantings, accessibility | Minimal bending, excellent drainage |
Height Benefits
Taller beds reduce how much you bend during maintenance. Back strain disappears when deadheading and weeding happen at a comfortable level.
These heights also create a dramatic visual impact in landscape designs. Taller beds warm up faster in spring, extending the growing season slightly.
3. Keep Edges, Paths, and Borders Under Control
Stop Grass Invasion

Boundaries mark the end of the flower beds and the start of other areas in the garden. If boundaries were not created, gardening areas would be overrun by grass, resulting in an unpleasant aesthetic effect.
A metal edging garden bed solution prevents grass invasion successfully. A barrier is formed beneath the soil to prevent root growth with an observable boundary mark on the surface.
Design Functional Paths

Paths need attention too. Mulched or gravel paths between beds prevent mud tracking and give you dry access during wet weather.
Width matters. Make paths at least 18 inches wide so you can walk comfortably and push a wheelbarrow through.
Add Buffer Zones

Gravel strips along bed edges add another layer of control. A four-inch band of small stones creates a buffer zone that discourages weeds.
The color and texture contrast make plantings pop visually.
Quick Weekly Maintenance

Edge maintenance takes only minutes per week when proper barriers exist. A quick pass with a string trimmer keeps lines crisp.
Avoid letting mulch spill onto paths. Rake mulch back into beds weekly as part of regular maintenance.
4. Create a Simple Care Routine for Watering and Feeding
Step 1: Weekly Visual Check

Walk through your flower beds looking for wilted plants, fading blooms, and emerging weeds. Consistency matters more than complexity. Catch problems before they become visible from a distance.
Step 2: Water Deeply, Not Often

Deep watering once or twice weekly beats daily shallow sprinkling. This encourages roots to grow down rather than staying near the surface.
Best time: Early morning watering prevents disease issues. Foliage dries quickly as the day warms.
Avoid: Evening watering leaves plants wet overnight, inviting fungal problems.
Step 3: Feed Lightly and Regularly

Most flower beds benefit from light fertilizer applications every 4-6 weeks during active growth.
Avoid heavy feeding, which produces lush foliage at the expense of flowers.
Step 4: Remove Spent Blooms

Deadheading serves multiple purposes:
- Keeps beds looking fresh
- Encourages more blooms on many plants
- Takes only minutes if done weekly
Pinch off dead flowers while walking through beds during your regular check. Use clean, sharp pruners to avoid ragged cuts.
Step 5: Trim Wayward Growth

Cut back stems that flop into paths or over edges. This maintains the neat appearance and prevents flowers from smothering neighbors.
5. Refresh Flower Beds Throughout the Season
Spring Renewal (March-May)
1. Clear Winter Debris

Cut back old perennial growth once new shoots emerge. This clears away winter damage and makes room for fresh foliage.
2. Divide Overcrowded Plants

Divide overcrowded clumps to restore vigor and bloom production.
3. Fill Gaps with Annuals

Add new annuals to fill gaps left by spring bulbs. These temporary fillers maintain color through summer.
4. Apply Fresh Mulch

Mulch replenishment should happen in late spring after the soil warms. A two-inch layer suppresses weeds and moderates soil temperature.
Summer Maintenance (June-August)
Replace Tired Plants

Swap spent annuals with fresh ones in mid-summer. This strategy works especially well in metal raised garden beds, where plant changes are simple.
Trim After Blooming
Trim perennials after their main bloom period ends. This prevents self-seeding in unwanted locations and often triggers a light rebloom.
Fall Preparation (September-November)
1. Plant Spring Bulbs

Add bulbs to perennial beds to provide early interest. Label the spots to avoid digging them up by accident when spring cleaning occurs.
2. Clean Up Beds
Remove dead annuals and cut back faded perennials.
3. Rearrange Problem Areas

Transfer plants when it is cooler to minimize transplant shock. A 12-inch deep bed can have the exhausted soil replenished by adding compost before replanting.
Transform Your Flower Beds Today
An attractive flower bed doesn't need daily care and expertise. However, it requires proper foundation and definitions. You should plant flowers in appropriate levels. A simple routine is also essential. It should suit the schedule of the concerned person.
All these techniques can be combined in order to achieve well-landscaped outside spaces that have the appearance of completeness. Your flower beds will flourish with small efforts.

Frequently Asked Questions
Q1: How Often Should I Water Flower Beds in Raised Structures?
Water it deeply once or twice a week rather than lightly each day. Because raised beds drain better than ground beds, you should test the moisture in the soil by inserting your finger two inches into the soil. If the soil is dry, you should water it well. Watering is required more frequently in hot or sandy soil.
Q2: What Is the Best Material for Edging Around Flower Beds?
Metal edging is very durable and produces clean lines that can last for many years. It is easy to install and resistant to weather. It prevents the grass from encroaching. Aluminum and steel edging do well. The edging margin allows subtle design elements without detracting from plants.
Q3: Can I Grow Tall Perennials in a 12-Inch Deep Bed?
Many tall perennials can thrive with a depth of 12 inches. Coneflowers, Black-Eyed Susans, and some salvias can grow adequate roots with that depth. Large ornamental grasses with large root structures would thrive with an 18-inch or deeper depth.
Q4: How Do I Prevent Weeds Without Using Chemicals?
Mulching aids much in preventing most weeds from growing, as it inhibits sunlight from reaching weed seeds. For those weeds that still grow, they can be removed by pulling them out by hand to eliminate them completely. Overplanting also prevents sunlight from reaching the soil surface, hence preventing weeds from developing.
Q5: When Should I Replace Plants That Look Tired Mid-Season?
Replace the struggling annual flowers as soon as they are spent and no longer blooming. Dig up the old flowers, turn over the ground, and bring in something new. This will ensure that the area remains colorful with something always blooming rather than sporadic from a lack of flowering.


